Pointillism is a style of painting that was used primarily between 1880-1900. It involves painting with a bunch of tiny little points of paint. A few things motivated pointillism. First, most paintings of this time were of landscapes and people enjoying life outside. This style was called “Impressionism” and developed as a result of cameras. Before this time, painters would focus on a person seated or standing inside of a room, the background would not be important. With Impressionist artwork, the background was just as important as the people captured in the painting. In fact, in many cases, the background was more important than the people in the painting. In addition, because paints were more portable, artists would work outdoors in the air, and would think about lighting and how to create more realistic artwork. This was an exciting new time, as the concepts of photography merged with paint.
Pointillism arose from this genre of artwork. It is actually scientific. The color wheel (aka ROYGBIV) was developed around this time. The concept was to create an OPTICAL ILLUSION – essentially tricking your eyes to see different colors by putting small dots of unmixed paint near each other. For example, instead of mixing purple paint, a pointillist artist would put dots red and blue close together. Very close up, you would be able to see the dots of red and blue, however standing back, you would only see purple.
This concept of dots making an image is the same as the pixel that is used in our TV’s and computer screens. The more pixels there are per inch, or the more closely packed the pixels are, the clearer the image will be. Digital cameras also use pixels to pick up light. The more pixels there are, the clearer the pictures the camera can take.
Let’s look at a very famous pointillism painting by French painter Georges Seurat, called Sunday Afternoon on the Island of Le Grande Jatte. It took him 2 years to paint this huge painting with little dots of paint. The painting is 10 feet wide by 6 feet tall. If you look closely at the picture, you will be able to find the monkey.

-T.E.A. 2018, TorahHomeschoolFamily.blogspot.com
Activity: Now you can try pointillism art!
-Paint – Dollar Tree Poster Paint works
-QTips (Again, you can find these easily at Dollar Tree)
-Card stock
-Construction Paper
-Scissors
-Glue
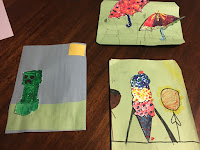
- Find coloring pages that interest your children and print on Cardstock paper. I have four examples here. **Make sure the coloring figures aren’t too large, because it will take longer to color the figure in with dots.
- Put small amounts of each color paint in a paint well or on a paper plate.
- Give the children qtips and tell them to paint the figures with dots.
- Older children can use the Optical Illusion concept and try putting primary color dots near each other to make blended colors. For example, ROYGBIV – Put red and yellow dots near each other to make Orange.
- Younger children can mix their colors on their plates using ROYBIV, or be given already mixed colors.
- Even younger children (2+) can just use the qtips to smear the paint all over their figures, and forget about making points. It’s FUN!
- Allow the figures to dry.
- Cut out the figures and use the construction paper to make a background scene. Then glue the figure to the scene.
Pictures we used:
Minecraft Creeper: http://www.supercoloring.com/coloring-pages/creeper?version=print
Umbrella: http://coloringhub.com/wp-content/uploads/2013/11/Umbrella-coloring-pages-11.jpg
Butterfly: http://www.raisingourkids.com/coloring-pages/animal/butterfly/005-butterfly-to-print-color.html
Car: http://sweetclipart.com/multisite/sweetclipart/files/toy_car_cute_coloring_page.png
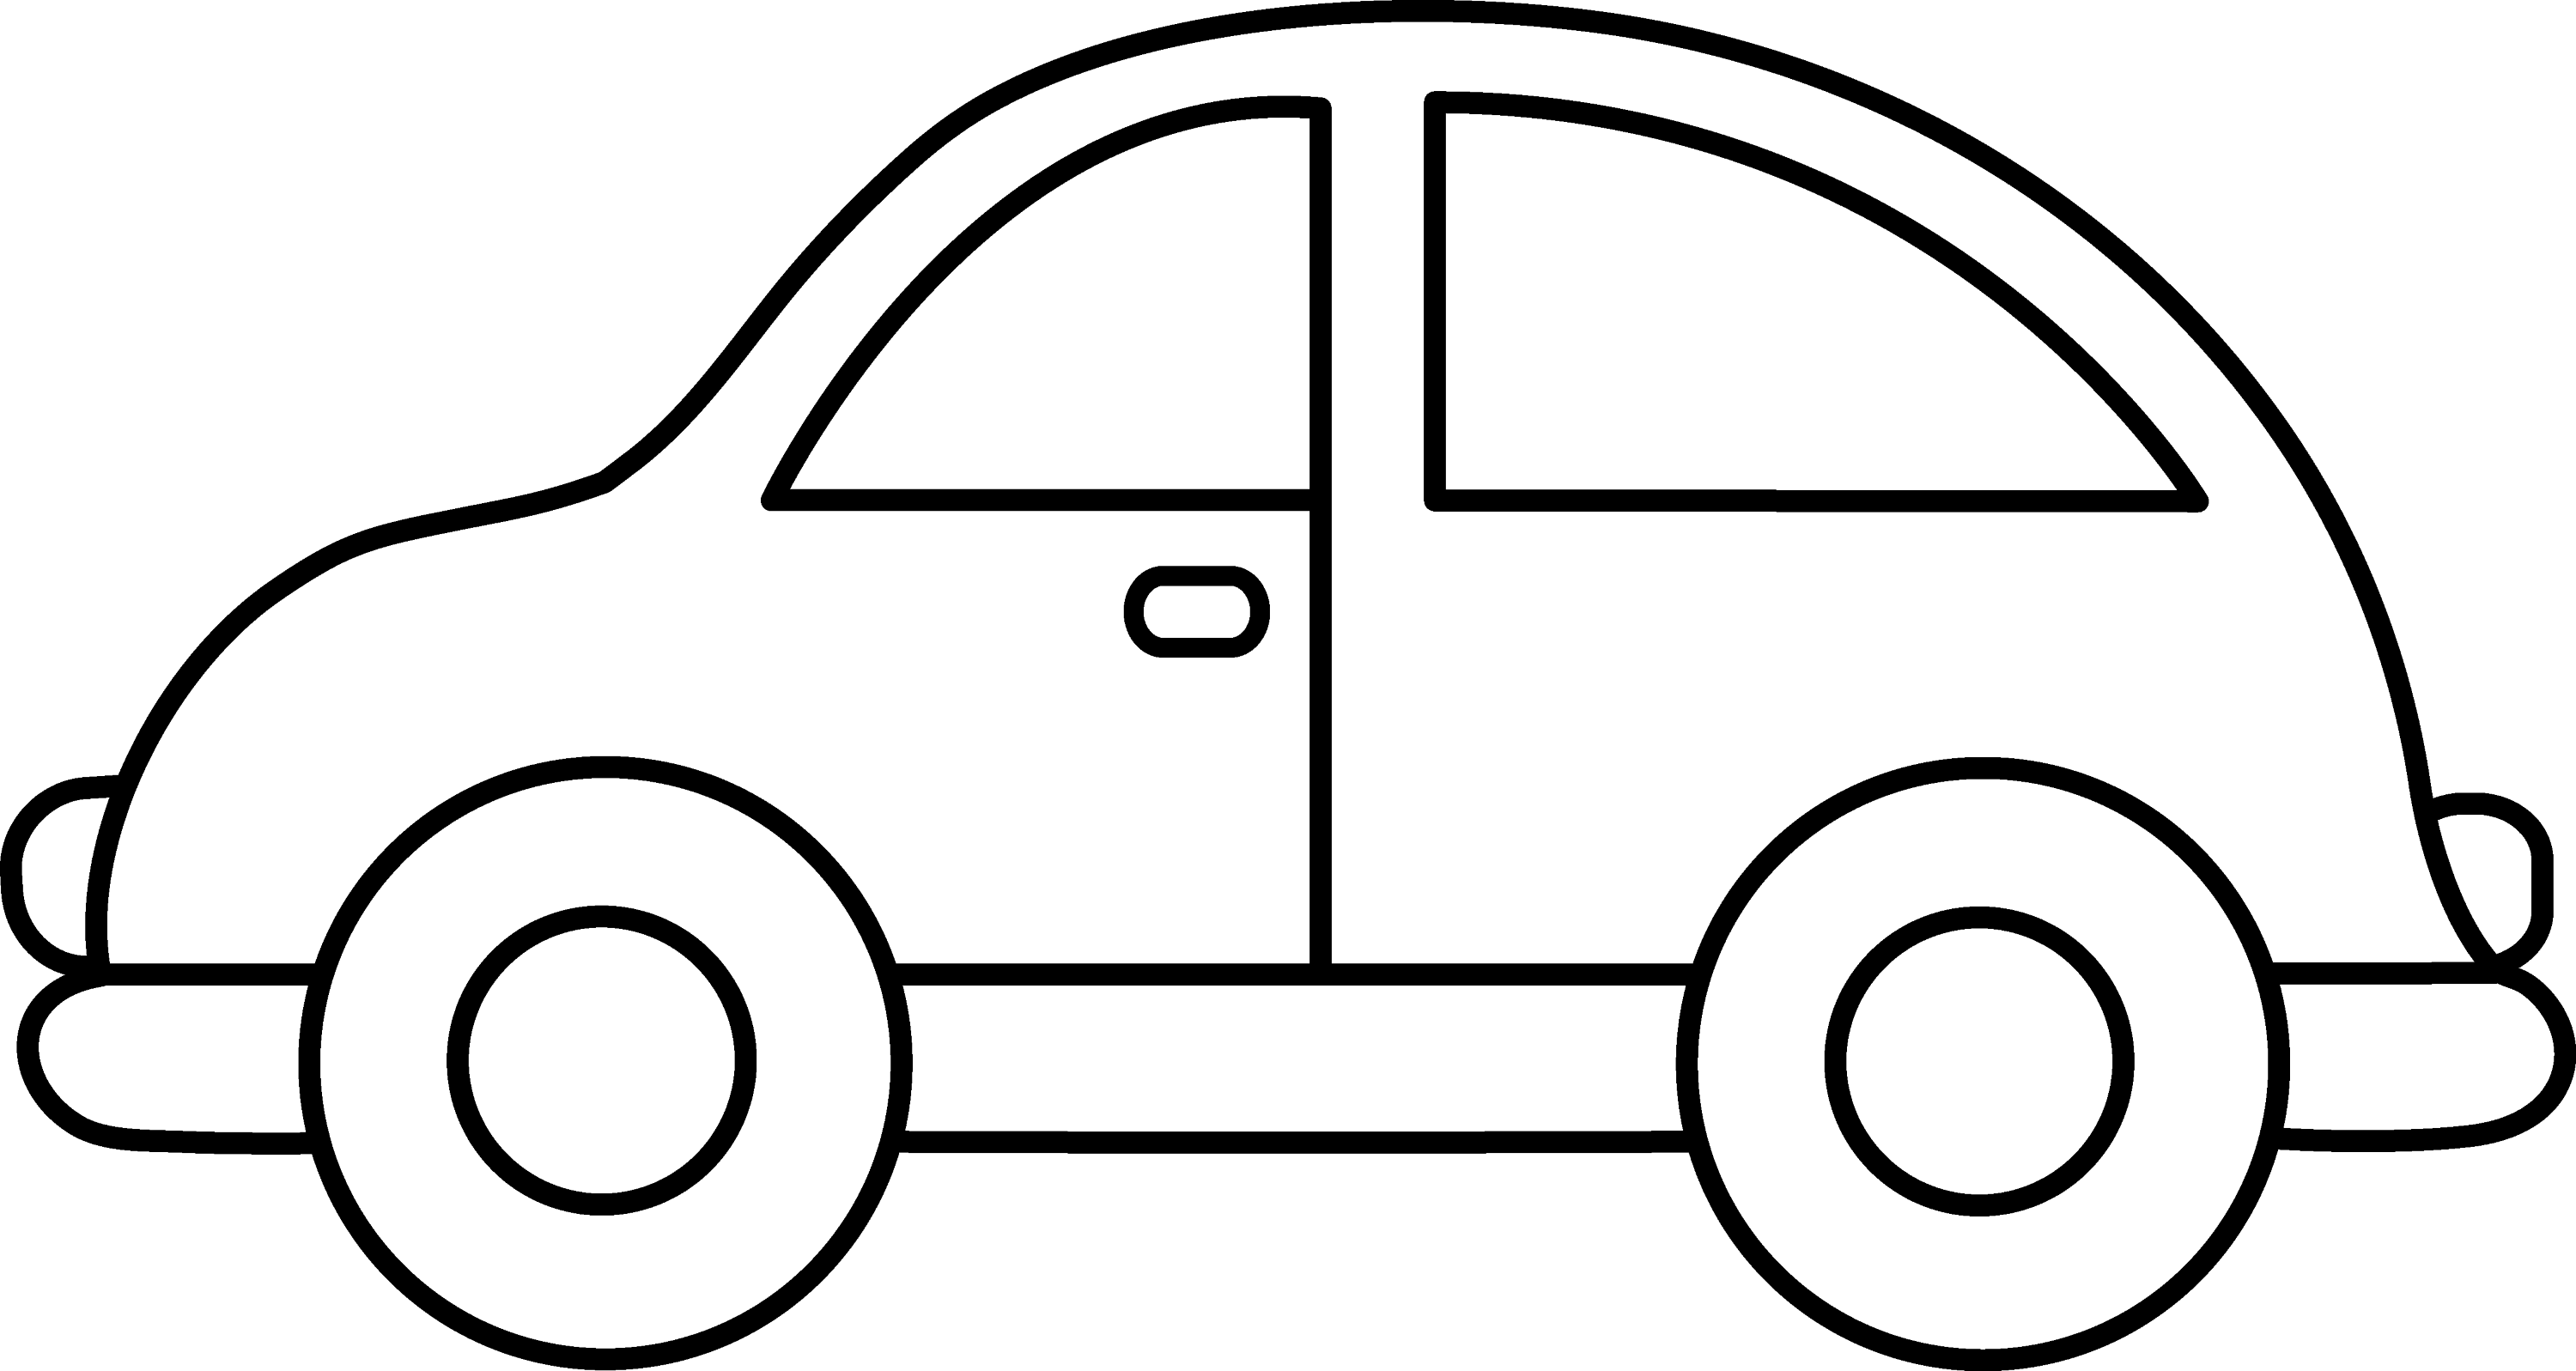
Ice Cream Cone: http://www.getcoloringpages.com/coloring/21605
No comments:
Post a Comment